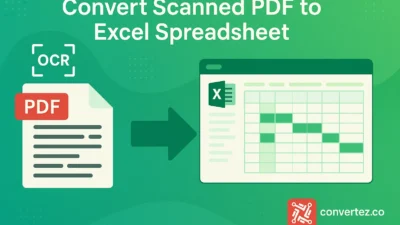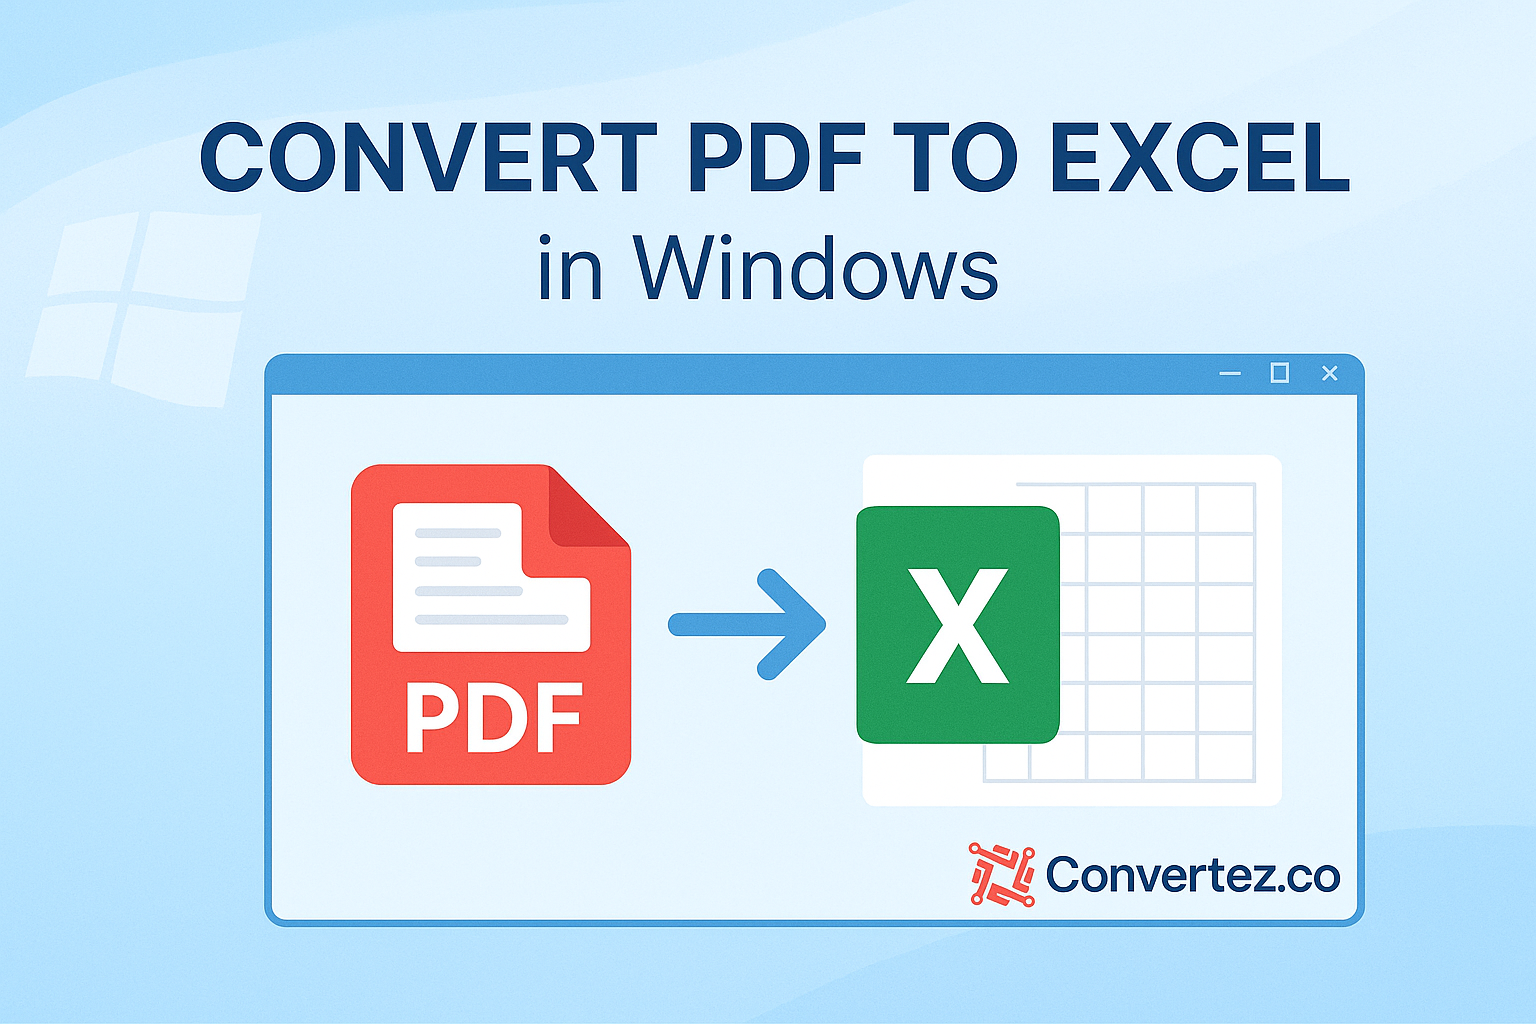
Introduction
In today’s data-driven environment, it’s often essential to convert PDF to Excel in Windows for comprehensive analysis, formula application, and visual reporting. Whether you’re handling invoices, research tables, or large datasets, turning static PDF files into editable spreadsheets can save countless hours of manual retyping. This guide walks through multiple techniques to convert PDF to Excel in Windows, from native Office tools and web services to dedicated desktop applications. You’ll also find best practices to ensure accuracy and a detailed FAQ to address common concerns.
Benefits of Converting PDF to Excel in Windows
- Editability: When you convert PDF to Excel in Windows, you unlock the ability to sort, filter, and adjust data on the fly.
- Improved Accuracy: Automated extraction minimizes the risk of transcription errors compared to manual entry.
- Time Savings: Bulk‑processing features let you convert PDF to Excel in Windows across dozens of files in minutes.
- Seamless Integration: Once in Excel, your data can feed directly into pivot tables, charts, and other Windows‑based analytics tools.
Understanding these advantages helps you select the right approach to convert PDF to Excel in Windows based on your workflow and data complexity.

Method 1: Use Microsoft Excel to Convert PDF to Excel in Windows
One of the quickest ways to convert PDF to Excel in Windows is by using Excel’s built‑in import feature (available in Excel 2016 and later):
- Open Excel and go to Data > Get Data > From File > From PDF.
- Browse to your PDF document and click Import.
- In the Navigator pane, select the table(s) you wish to bring into Excel.
- Click Load to place the data into a new worksheet.
This method is ideal for well‑structured tables. However, it may struggle with heavily formatted or multi‑column layouts when you convert PDF to Excel in Windows.
Method 2: Use Adobe Acrobat Pro DC to Convert PDF to Excel in Windows
If you have access to Adobe Acrobat Pro DC, follow these steps to ensure a high‑fidelity conversion:
- Open your PDF in Adobe Acrobat Pro DC.
- Select Export PDF from the right‑hand pane.
- Choose Spreadsheet > Microsoft Excel Workbook, then click Export.
- Name and save your new
.xlsxfile.
Adobe’s engine excels at preserving cell borders, fonts, and merged headers when you convert PDF to Excel in Windows, making it reliable for complex documents.
Method 3: Online Services to Convert PDF to Excel in Windows
Web‑based converters require no installation and can handle casual conversions quickly:
- Smallpdf: Drag and drop your PDF for automatic conversion with optional OCR.
- ILovePDF: Batch processing, plus Google Drive and Dropbox integration.
- PDFtoExcel.com: Dedicated to spreadsheet exports with a straightforward interface.
How to use:
- Visit the service’s website.
- Upload your PDF file.
- Hit Convert to Excel and wait for processing.
- Download the resulting Excel workbook.
While it’s easy to convert PDF to Excel in Windows online, always consider privacy and data sensitivity before uploading.
Method 4: Desktop Applications to Convert PDF to Excel in Windows
For offline use, advanced options, or higher volume workflows, dedicated software provides more control:
- Able2Extract Professional: Custom table selection plus batch conversion.
- Nitro Pro: Full PDF editor with Excel export and OCR capabilities.
- Wondershare PDFelement: Template‑based conversion and intuitive interface.
General process:
- Install and launch the application.
- Open the PDF file inside the program.
- Choose Convert or Export to Excel.
- Tweak detection settings (table regions, OCR languages) as needed.
- Save the output
.xlsxfile to your chosen folder.
These desktop tools let you convert PDF to Excel in Windows under finely tuned parameters, ensuring consistency across large batches.
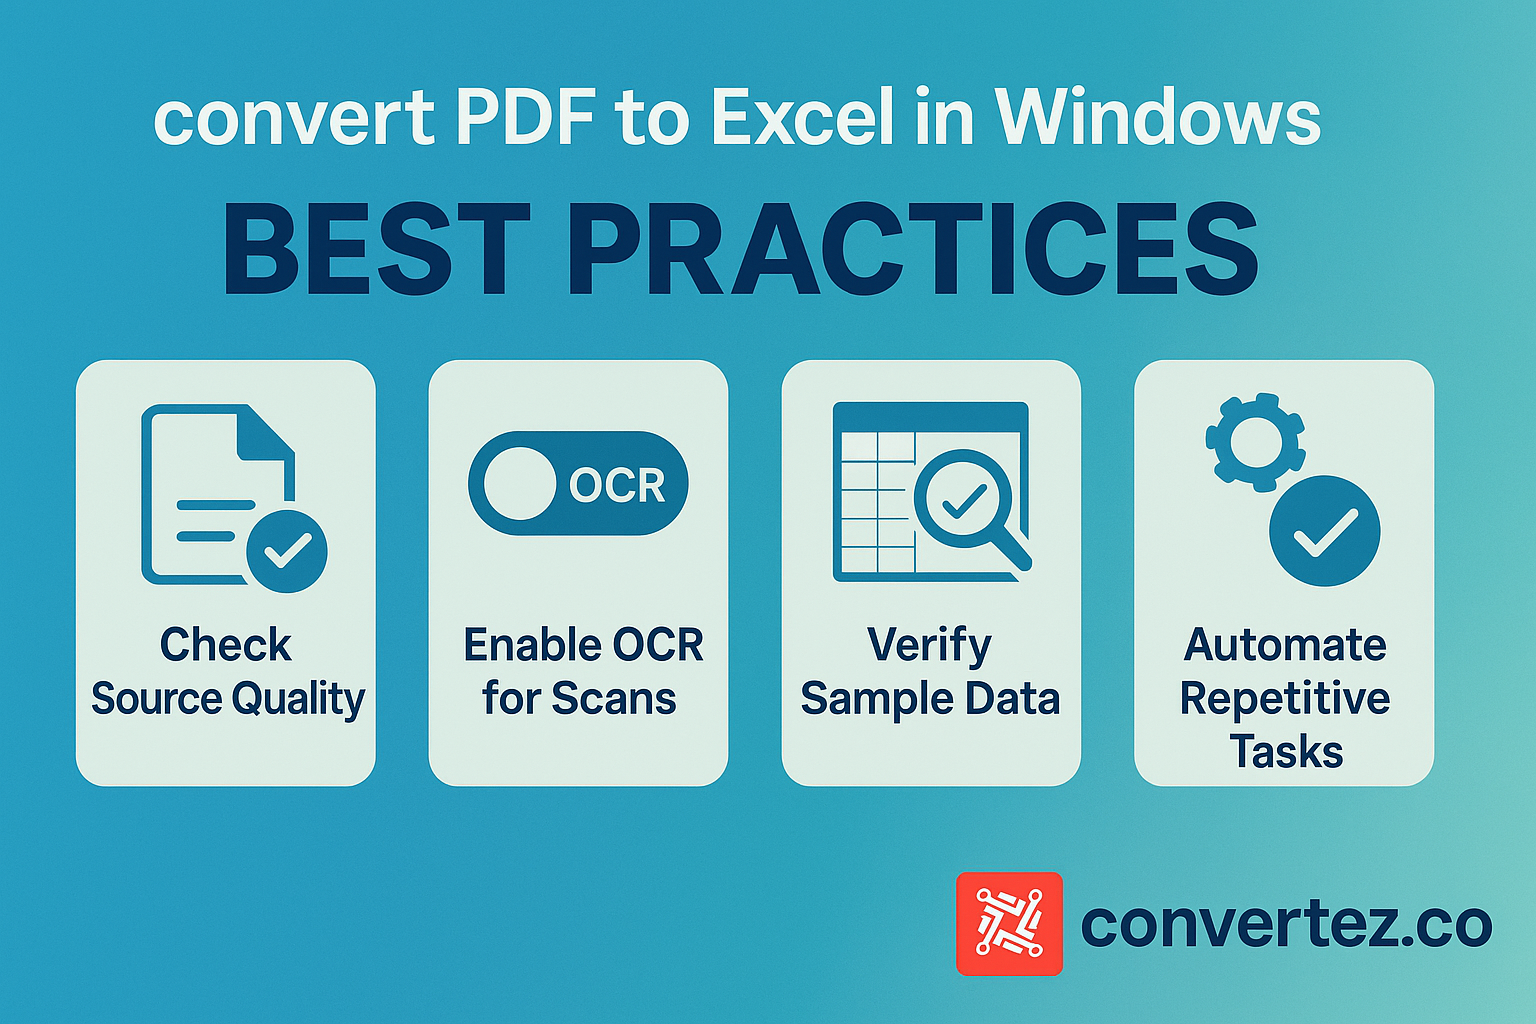
Best Practices
- Check Source Quality: High‑resolution PDFs and digital exports yield better results than low‑dpi scans.
- Enable OCR for Scans: Always turn on Optical Character Recognition when working with scanned documents.
- Verify Sample Data: Cross‑check a handful of rows in Excel against the original PDF to catch errors early.
- Clean Up After Conversion: Remove blank rows, merge split headings, and normalize number formats in the spreadsheet.
- Automate Repetitive Tasks: Use batch features or scripting (e.g., PowerShell with CLI tools) for high‑volume projects.
Applying these tips will help you maintain data integrity and streamline your workflow when extracting tables and content.
Frequently Asked Questions
Q1: What is the most cost‑effective way to convert PDF to Excel in Windows?
If you have Excel 2016 or newer, use Data > From PDF at no extra cost. For scanned files, free online converters with OCR support are a good backup.
Q2: How do I handle password‑protected PDFs?
Remove or enter the password in Acrobat or another PDF editor first. Some online tools will prompt you for credentials before conversion.
Q3: Can images and charts be converted, too?
Most converters focus on tables. Charts and graphics usually export as static images, not editable Excel charts.
Q4: How reliable is the conversion accuracy?
Accuracy varies by tool and PDF complexity. Adobe Acrobat and Excel’s native importer deliver the best results for well‑formatted tables.
Q5: Is batch conversion possible?
Yes. Professional desktop apps like Able2Extract support batch workflows. You can also automate Adobe Acrobat with JavaScript or leverage command‑line utilities.
Conclusion
Converting PDF files into editable Excel spreadsheets on Windows no longer needs to be a time‑consuming chore. Whether you leverage Excel’s built‑in import feature, use Adobe Acrobat Pro DC, tap into free online services, or invest in a dedicated desktop application, there’s a solution to suit every workflow and budget. By following best practices—such as enabling OCR for scanned documents, verifying a sample of converted data, and cleaning up your spreadsheet—you’ll ensure accuracy and maximize efficiency every time you convert PDF to Excel in Windows.
As you explore these options, consider the complexity of your source files, the volume of documents you need to process, and any privacy requirements you may have. Armed with the methods and tips outlined in this guide, you can confidently choose the right tool to streamline your data extraction, unlock powerful analysis features in Excel, and focus on what really matters: turning insights into action.